Webflow
This guide walks you through creating a Webflow API token for CMS integration so sitefire can publish content to your site.
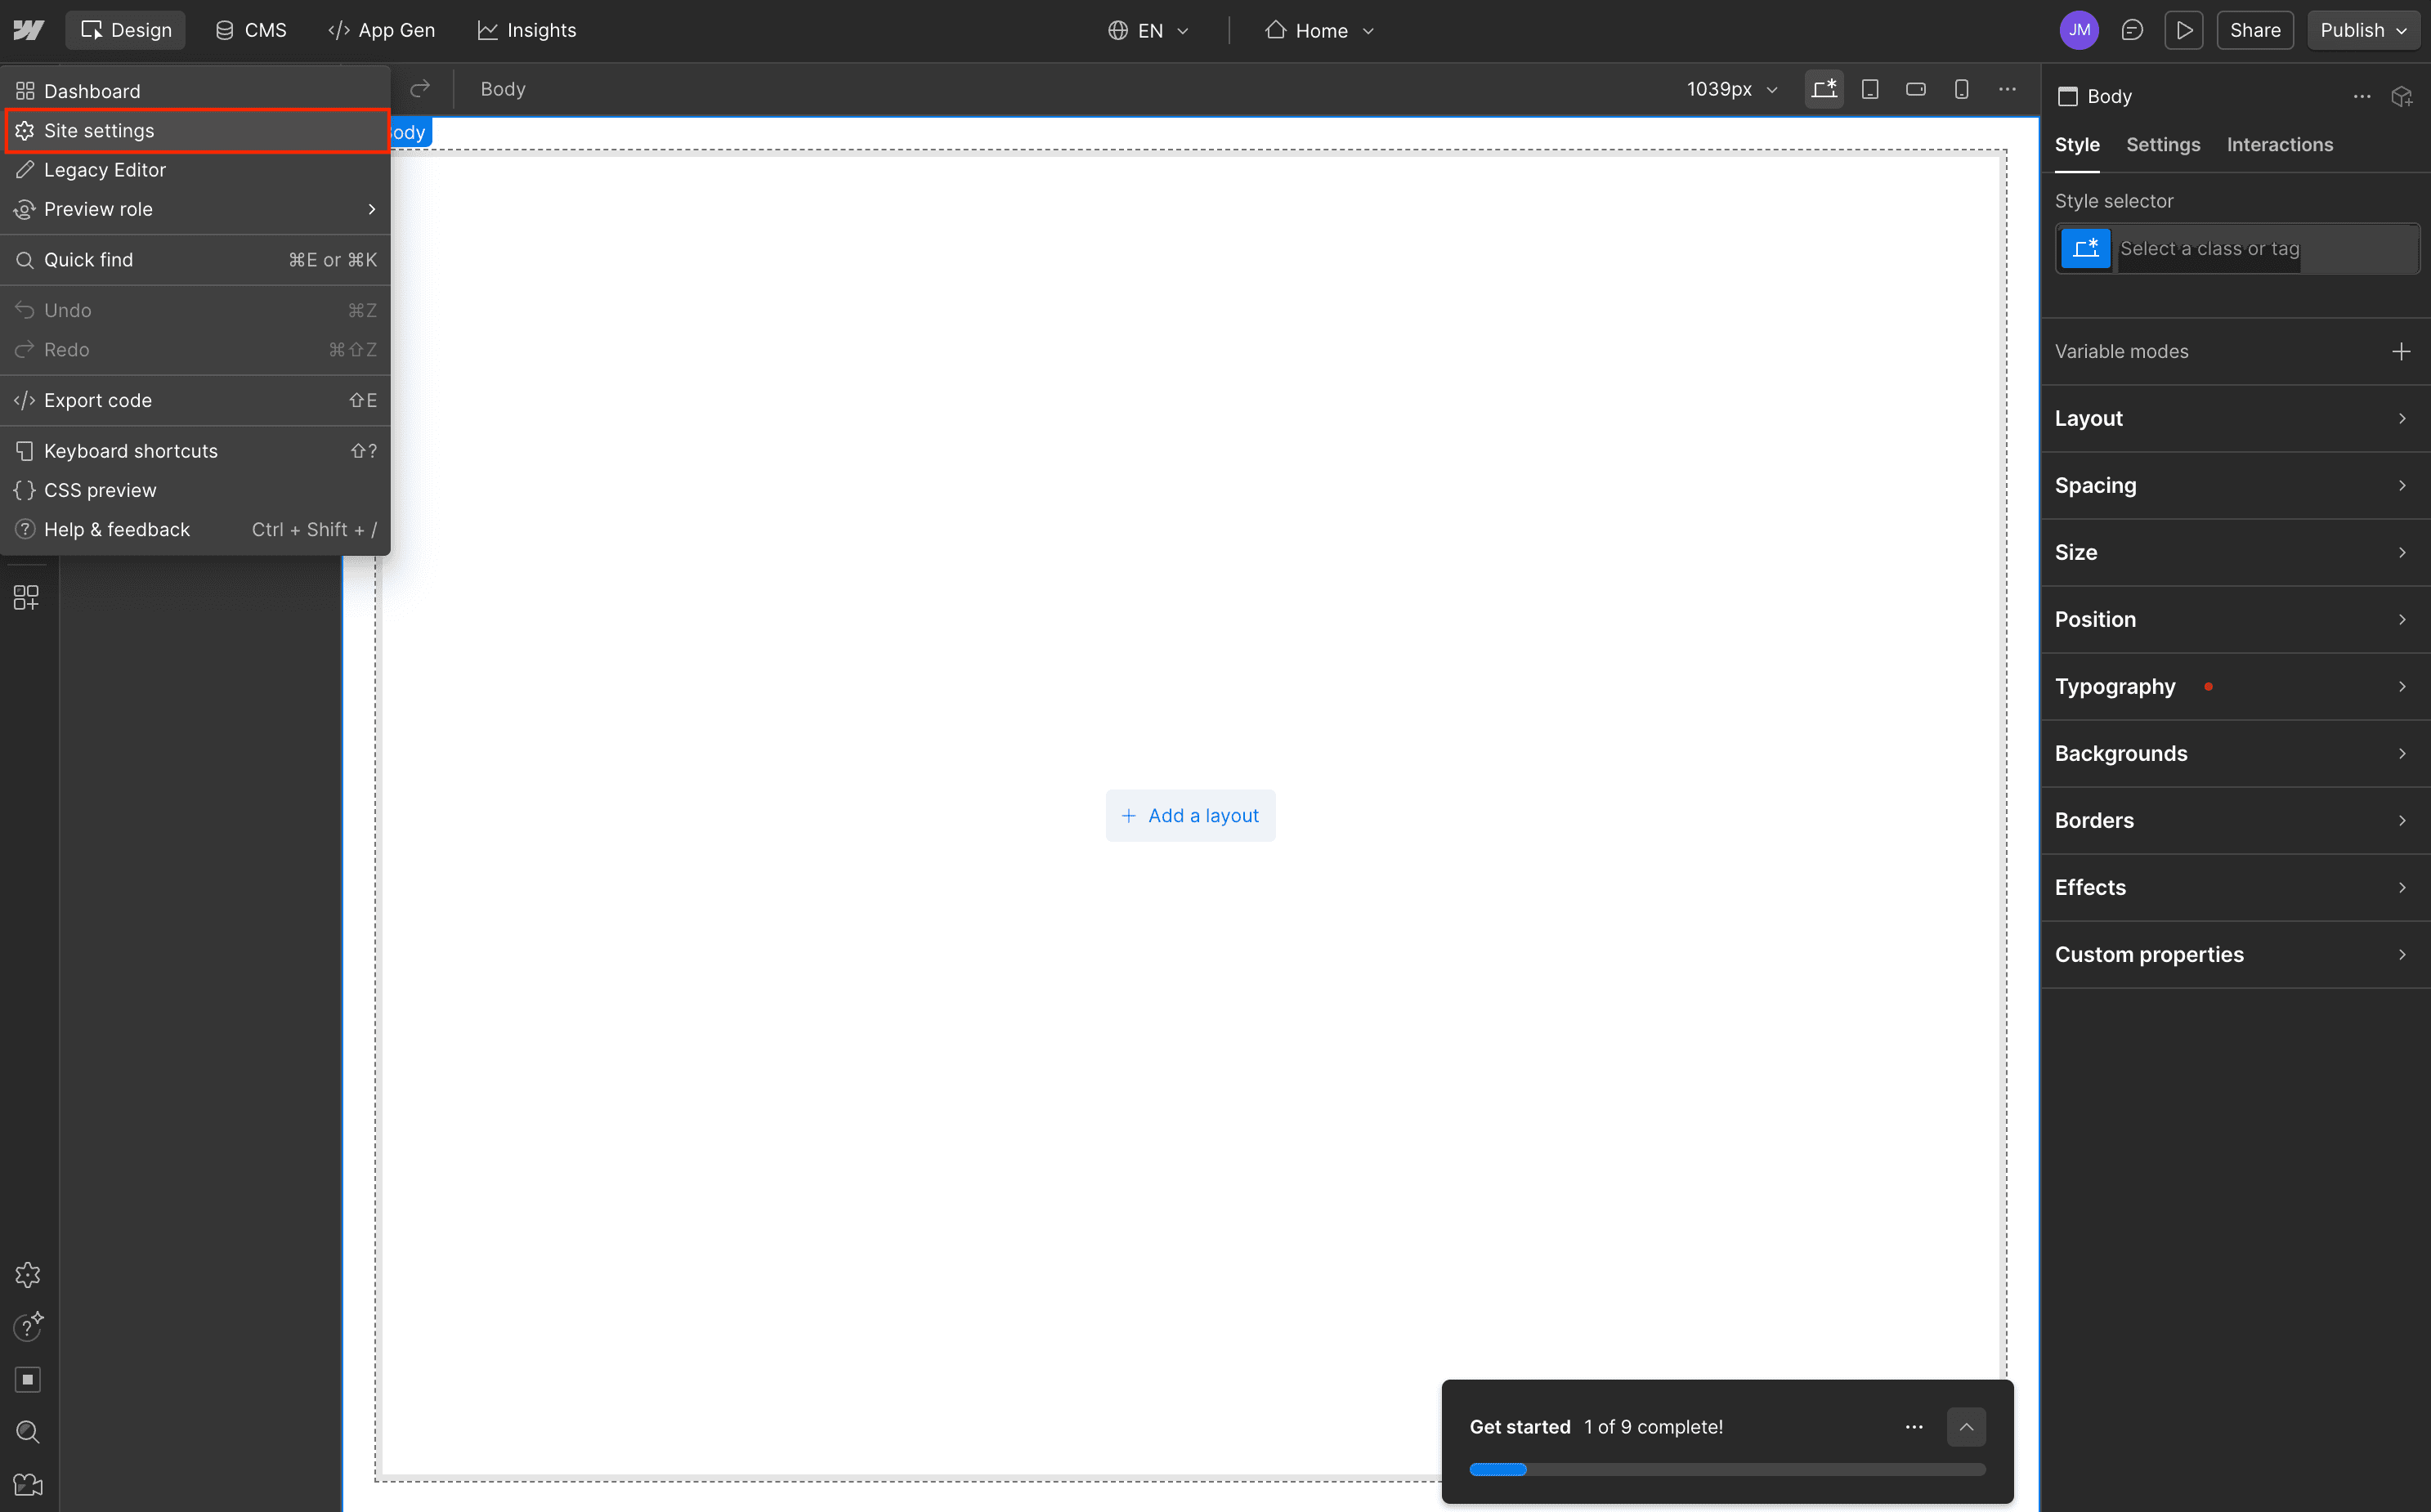
Open Site Settings
Open the Webflow Designer for your site. Click the Webflow menu (top left) and select Site settings.
Navigate to Apps & Integrations
In the left sidebar, navigate to Apps & Integrations.

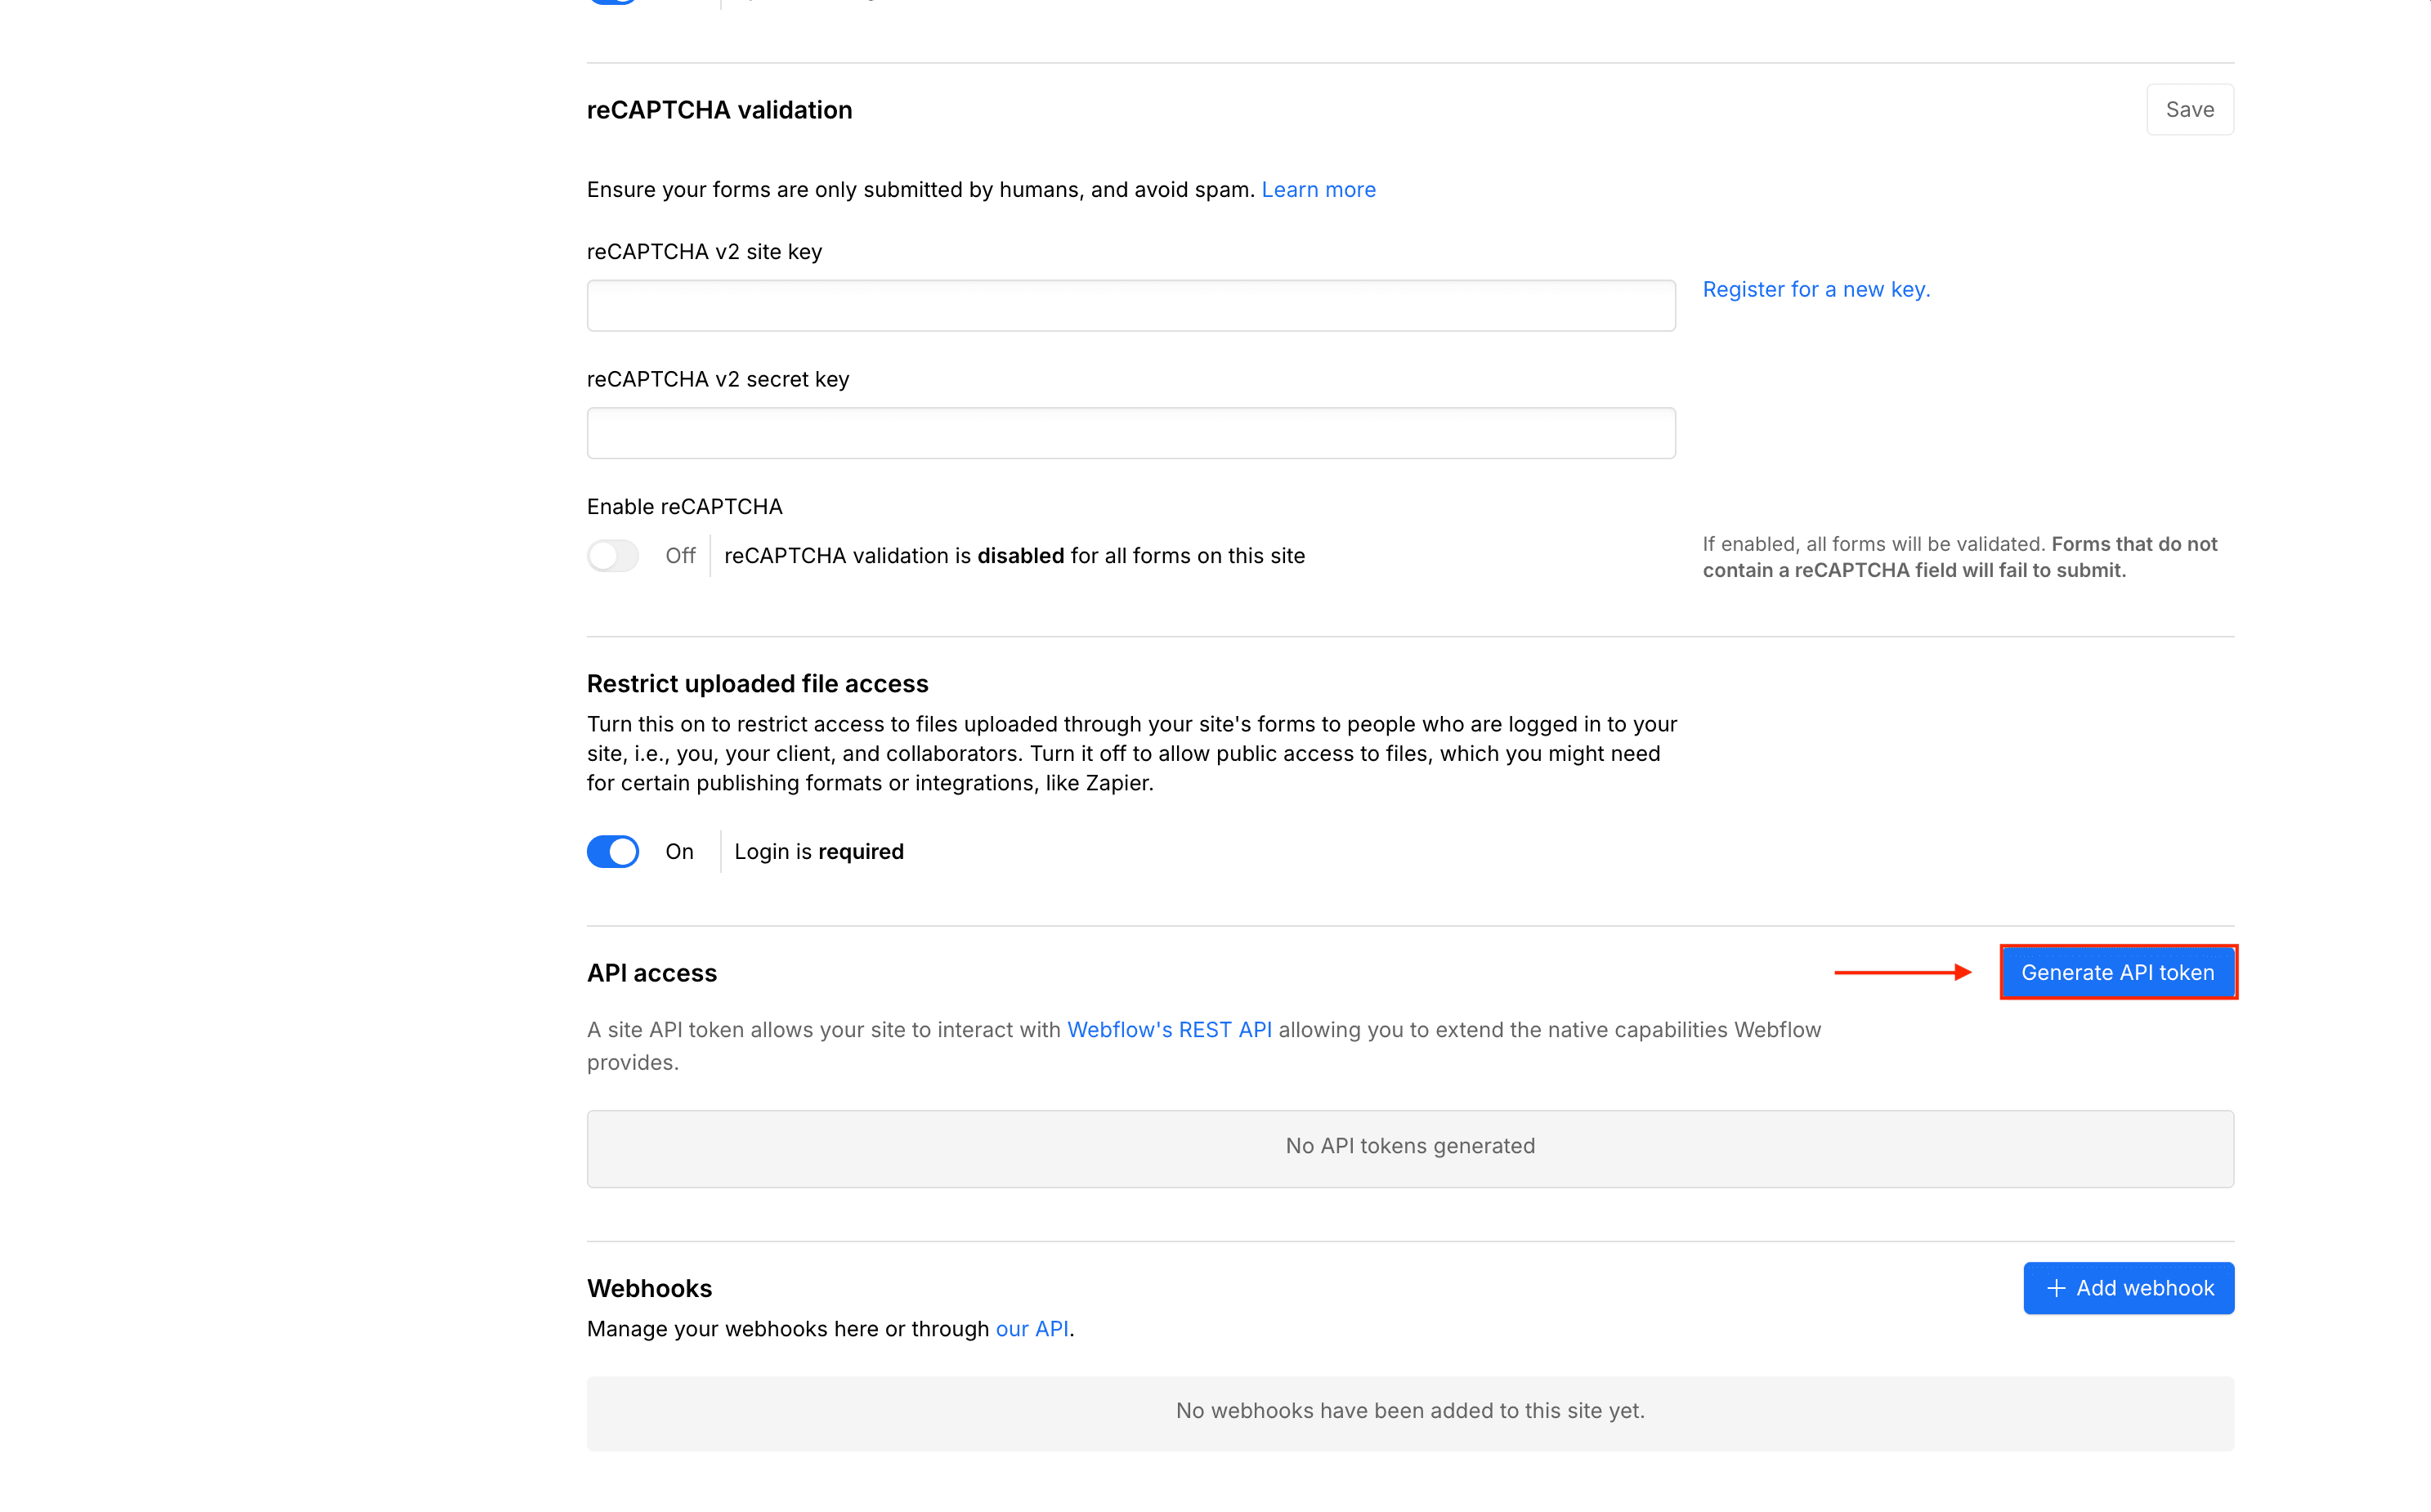
Generate an API Token
Scroll down to the API access section and click Generate API token.
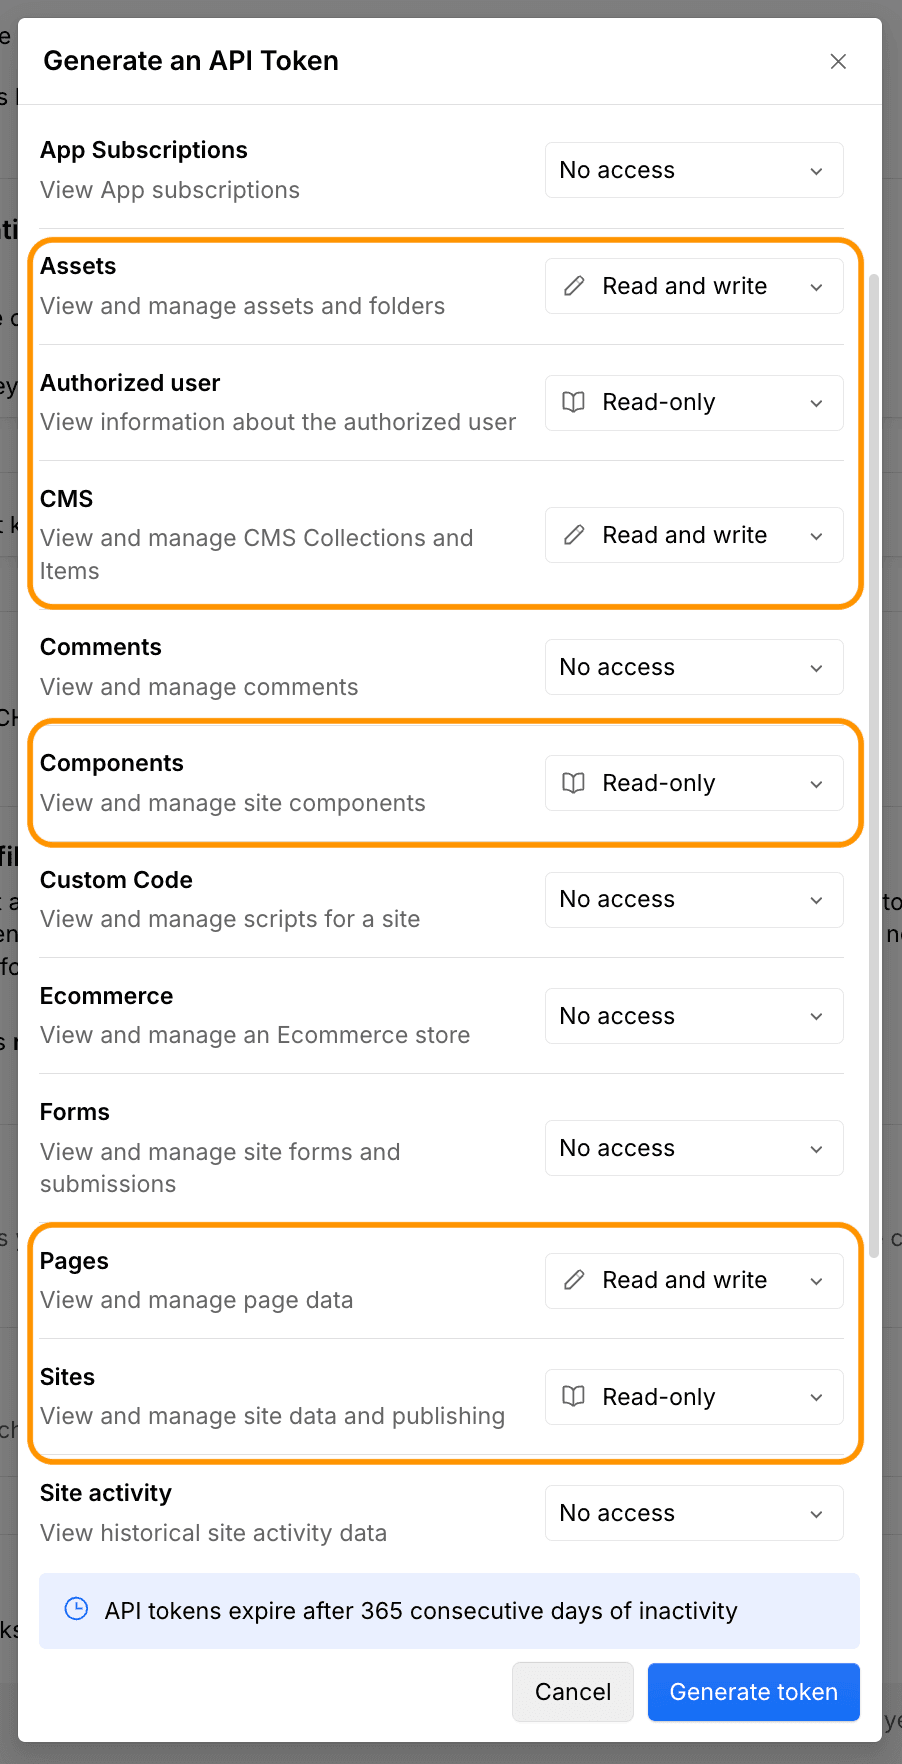
Give the token a descriptive name (e.g., sitefire) and set the permissions as follows:
All other permissions can stay at No access.
Copy the token immediately - Webflow only shows it once.
Paste the token into the API Key field in sitefire when connecting your Webflow site. Then select your site and collection, map your fields, and you can start pushing articles.
Last updated on